They turned out to be a letter from Amalgamated Wireless Valve Company Pty. Limited, dated 30th April 1943. The company was the valve manufacturing arm of Amalgamated Wireless (Australasia), better known as AWA, which was a major name in Australian radio, broadcasting, communications and electronics.
The date puts it right in the middle of the Second World War, less than a year after the Japanese midget submarine attack on Sydney Harbour and while Australia was still heavily focused on defence production in the Pacific war. Civilian radio maintenance mattered, but it was competing with military demand for communications and other equipment.
That alone would have been a nice little bit of radio history, but the subject matter was even better: valve shortages, allocation, civilian supply, equivalent parts, and what to do when the part you wanted was not available.
In other words, a parts shortage notice.

At my day job I work as a hardware engineer, so parts shortages have been a recurring part of the job for years. Sometimes it is a small nuisance, where a diode or passive needs to be swapped for a close equivalent. Other times it is a project-level problem, where the wrong unavailable part can hold up a whole production run.
The causes change, but the pattern is familiar.
Over the last couple of decades we have had the GFC and the recovery that followed it, where capacity and inventory were cut and then demand came back faster than supply. We have had natural disasters like the 2011 Japan earthquake and the Thailand floods, both of which exposed how concentrated parts of the electronics supply chain had become. We have had the passive component squeezes around MLCCs, resistors and other high-volume parts as smartphones, cars, industrial equipment and IoT products all consumed more electronics.
Then came trade wars, tariffs, export controls, COVID pandemic, factory fires, shipping disruption, automotive demand whiplash, Ukraine/Russia material concerns, and now the AI boom pulling huge amounts of memory, advanced packaging, power hardware and data-centre infrastructure into one very hungry part of the market.
That is a long list, but the individual events are not really the point. The point is that electronics supply is always a balancing act. Demand moves quickly. Manufacturing capacity moves slowly. The parts themselves might be small, but the factories, materials, tooling, qualification processes and logistics behind them are anything but simple.
That is what makes this 1943 letter so interesting. It is not just saying “sorry, we are out of stock”. It explains that the Australian Radiotron Valve Factory was supplying large quantities of valves for defence use, while also trying to support civilian radio receivers. It says output had more than doubled since the start of the war, helped by a move into a larger purpose-built factory, but that material shortages still meant not all requirements could be met.
The letter then describes civilian releases being made at roughly monthly intervals, distributed under an equitable system based on 1939 purchases. It suggests waiting for listed types where possible, using pin-base and octal-base equivalents when practical, changing sockets where needed, and referring to replacement charts when the exact type was not available.
That could almost be rewritten as a modern procurement email:
- allocated stock will be released periodically;
- priority customers and historic demand will affect allocation;
- use approved alternates where available;
- redesign may be required for non-direct substitutes;
- contact us if you need help choosing a replacement.

The technology has changed, but the workarounds have not changed as much as we might like to think.
In 1943 the substitution might have been a pin-base valve for an octal-base equivalent, with a socket change in the radio. Today it might be a different microcontroller package, a regulator from another vendor, a revised PCB footprint, a different tolerance or dielectric, or a firmware change to support whatever peripheral is actually available. The details are different, but the engineering conversation is the same: what is available, what is equivalent, what needs to be changed, and what risk does the substitute introduce?
There is also a useful reminder here about design assumptions. It is very easy to treat availability as someone else’s problem until it suddenly becomes the main problem. A design is not really manufacturable just because the prototype worked. It also needs parts that can be bought, in the quantities required, at the time they are needed, from a supply chain that is not too fragile for the job.
That does not mean every hobby project or low-volume design needs a full procurement strategy. Sometimes you use what you have and accept the risk. But for anything that needs to be built again, the boring questions matter: second sources, package options, lifecycle status, stock depth, lead time, firmware flexibility, and whether the circuit can tolerate a sensible range of substitutes.
Finding this letter inside an old valve tester manual was a nice reminder that engineers and repairers have been dealing with the same basic problem for a very long time. Shortages are not new. Allocation is not new. Substitution guides are not new. That feels especially current while I am dealing with the fallout from tight DDR4 supply on products I work on, while the wider memory market is being pulled toward AI and data-centre demand. Micron’s announcement that it is exiting the Crucial consumer business is a pretty clear example of where the priority has shifted. The flow-on effect is not just that memory costs more or takes longer to buy. Some system-on-modules that were expected to have years of life left have had their end-of-life dates brought forward, simply because the memory fitted to them is no longer available on the same terms.
The parts have changed from valves to ICs, memory and modules, but the lesson is much the same: the supply chain is part of the design, whether we want it to be or not.
]]>


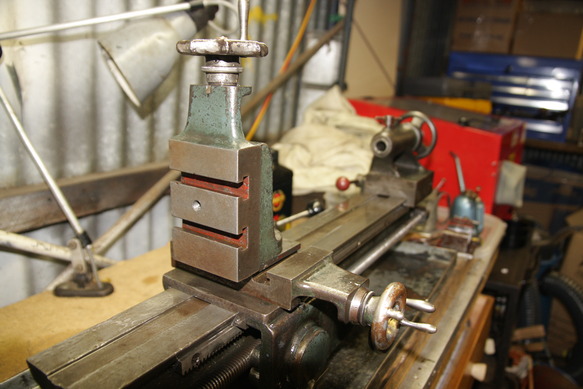


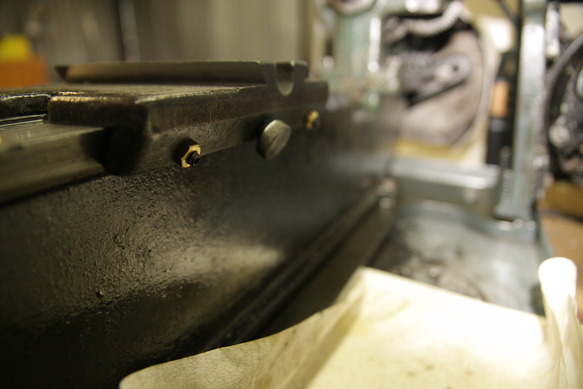
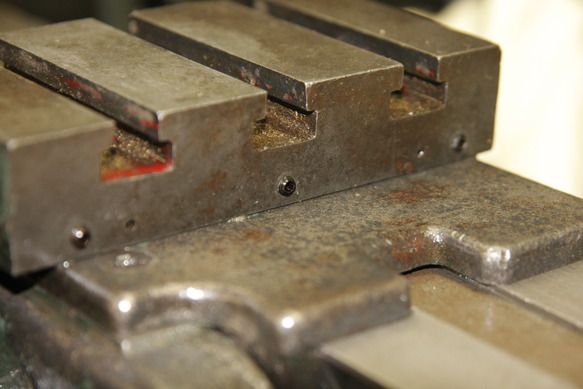
 I wrongly assumed they were the same length as the compound slide when I was ordering them, it looks like another order will be placed shortly.